

A full marketplace listing set, main image first
Marketplaces ask for the same set: one clean image on white, then the pictures that sell it. Here is the order that keeps the set together.
- 5 min read
- Updated
- Presets: Marketplace listing images, A+ content modules, Static ad formats
Most marketplaces want the same thing: a main image of the product alone on pure white, then supporting images that show angles, detail, scale and use. Marketplace listing images makes that set from your own product photos, one image per run.
The order matters. Get the main image right, then use it as the reference for everything after it.
Make the main image
Open Marketplace listing images and add one to three clean photos of the product, one for each side that should be seen. Say what it is, what it is made of and how big it is, then pick the Main image direction.
The main image is your product alone on pure white, filling the square frame, with no props and no text.
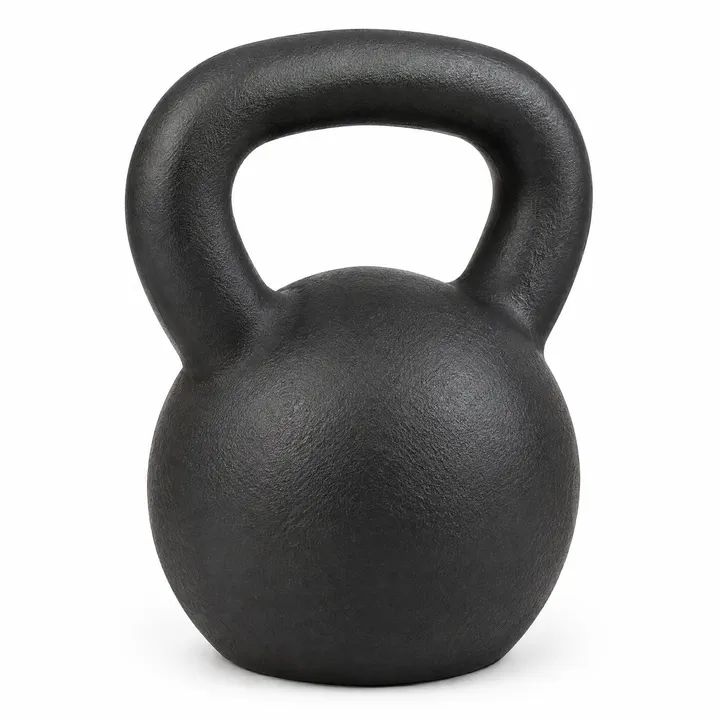
Watch for this:Check your marketplace's rules. The Main image direction asks for the product alone on pure white, filling the frame, which is what most marketplaces ask for. Always check your marketplace's own rules before you publish.
Approve it, then make it the reference
Look at the main image before you spend on the rest. When it is right, add it to the Approved main image step on every other run. The step is optional, but it is what makes the supporting images follow the main one.
Keep the same product photos and the same description for every run in the set.
Make only the supporting images you need
Every direction is its own run, so a listing that needs three supporting images costs three images, not six. Pick from these:
| Direction | What you get |
|---|---|
| Infographic base | Your product on white, set to one side, with clean space for the benefit callouts you add afterwards. |
| Multi angle | A second view of your product on white, from a side your photos show. |
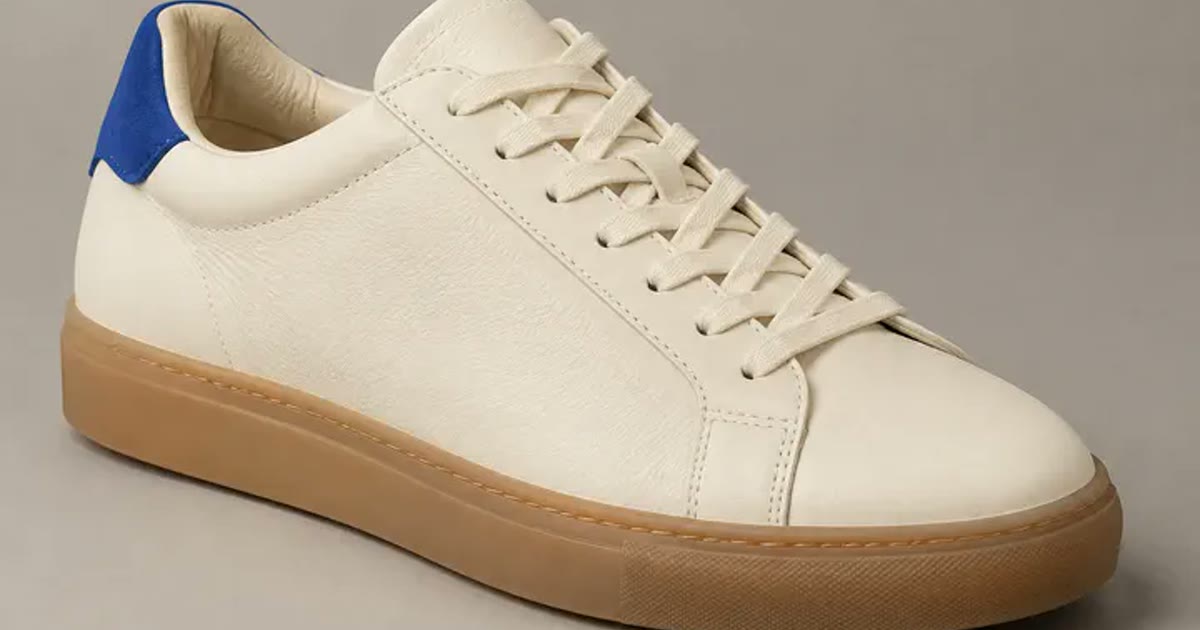
| Detail shot | A macro closeup of one feature, the material and finish filling the frame. |
| Lifestyle | Your product in use in a natural setting, hands only if a person is needed. |
| What is in the box | A flat lay of the product and everything that ships with it, on white, ready for labels added afterwards. |
Tip:Add the words afterwards. Nothing is written inside these pictures. Callouts, measurements and badges go on afterwards in your own image tools, so they are always spelled right and always true.
Watch for this:No photo, no angle. Every render shows only the sides your photos show. If the listing needs the back or the underside, photograph it and add that photo.
Add the modules under the listing
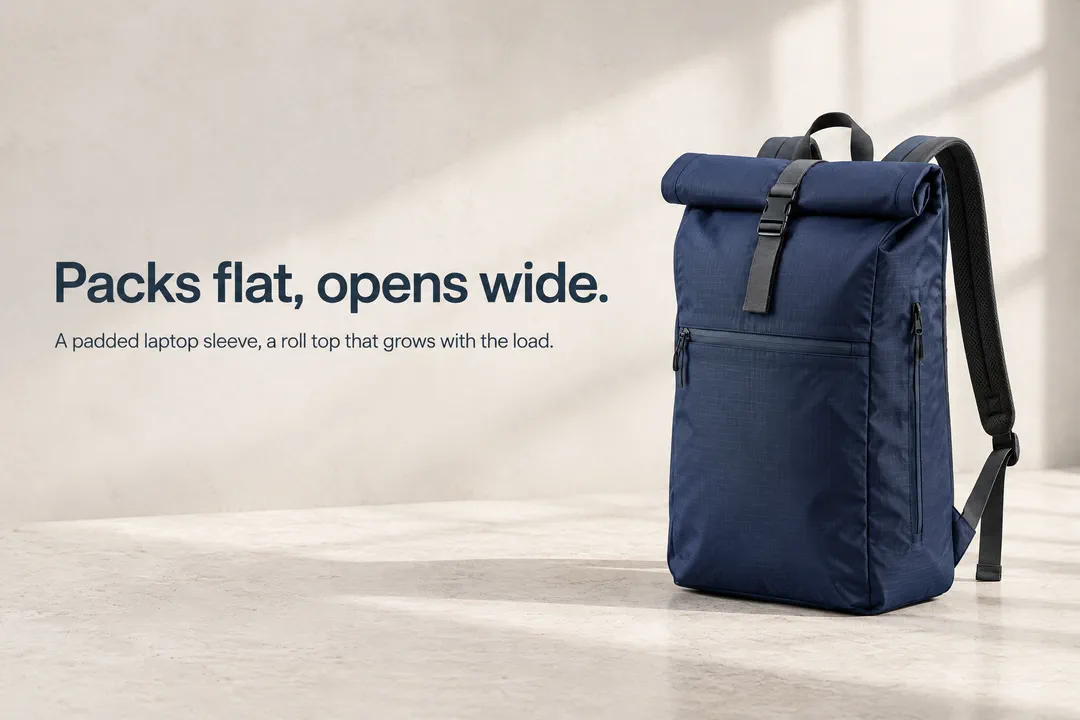
Many product pages also carry layout cards under the listing. A+ content modules makes them: a hero banner, pain points, features, ingredients, how to use and a customer quote you supply. Unlike the listing images, these cards carry words: your headline of at most eight words and up to four short lines, typed on the image.
Add your approved main image and each module is made to follow it. The words go on exactly as you type them, so check the spelling before you create.
Advertise it on social
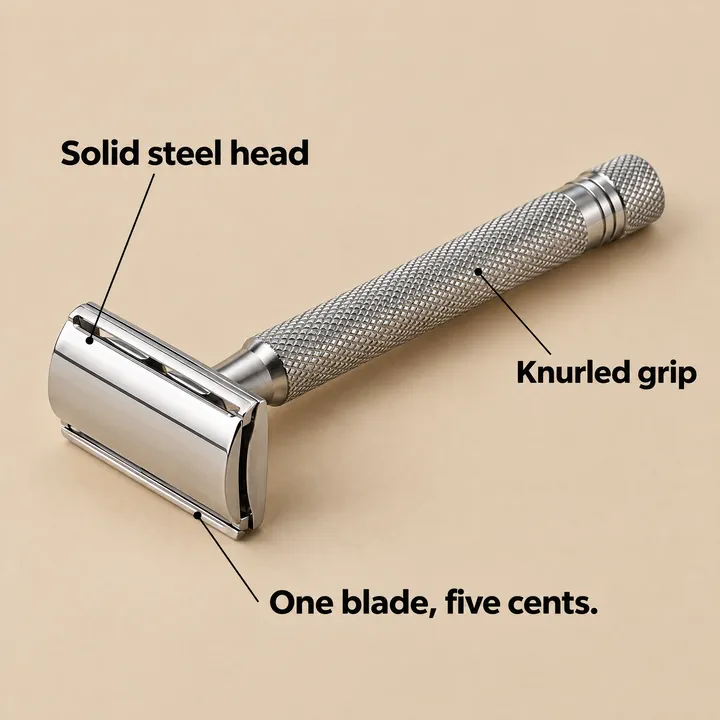
When you run ads for the product, Static ad formats builds a static ad for paid social from the same product photos and your own words, in one of eight formats such as a feature callout grid or us vs them. These are ads, not listing images: they carry your words on the picture, which the listing images do not.
Pick the shape for where it runs: feed 4:5, square, stories and Reels, or a banner.
What it costs
You pay per image, not per set. Each direction is a separate run, charged at the preset's estimate for the size you pick. The 2k and 4k sizes cost more per image, so stay at the standard size unless your marketplace asks for bigger files.
- Marketplace listing images
8 credits per image, about 50 for the full set of six
Takes under 2 min per image
- A+ content modules
8 credits per module, 21 at 2k and 58 at 4k; about 48 for the six card set
Takes under 2 min per module
- Static ad formats
8 credits per ad, 32 for four versions, 21 each at 2K
Takes under 2 min
Read live from the catalog when this page loads. Every price is shown before you generate. See every rate.
The cheapest way to a full set: get the main image right first, make only the supporting images you need, and stay at the standard size. New accounts start with 350 free credits.
Questions and answers
- Do I pay for the set or per image?
- Per image. Every direction under Marketplace listing images is a separate run, charged at the estimate for the size you pick.
- Can the listing images carry text?
- Not from this preset. Nothing is written inside the pictures, so add callouts, measurements and badges afterwards. For cards with your words typed on them, use A+ content modules.
- Is the main image on pure white?
- The Main image direction asks for the product alone on a pure white background, filling the frame. Always check your marketplace's own rules before you publish.
- Which models make the images?
- Marketplace listing images and A+ content modules run on GPT Image 2.5 Flare and GPT Image 2.5 Sunburst.
- Can I try it before I pay?
- Yes. New accounts start with 350 free credits, no card required.
Make the main image first
Open Marketplace listing imagesRelated guides
Product images
One phone photo to a full shop set
Turn one clear phone photo into a studio hero, a seasonal version, a product page banner and a short clip, with the preset for each step and what the set costs.
· 6 min read
Product video
Product videos without filming: pick the format
Seven product video formats, from a how to clip to an unboxing to hands only, each with a real example, what it is for and when to pick it.
· 7 min read
Filmmaking
Focal length for AI video: 24mm, 70mm, 135mm and 200mm
What 24mm, 70mm, 135mm and 200mm do to a frame, how to prompt each in Seedance 2.5, and how the focal length reel was made, with every prompt as it was sent.
· 15 min read